What Is Draping in Fashion Design? Meaning, Process and Why It Still Matters
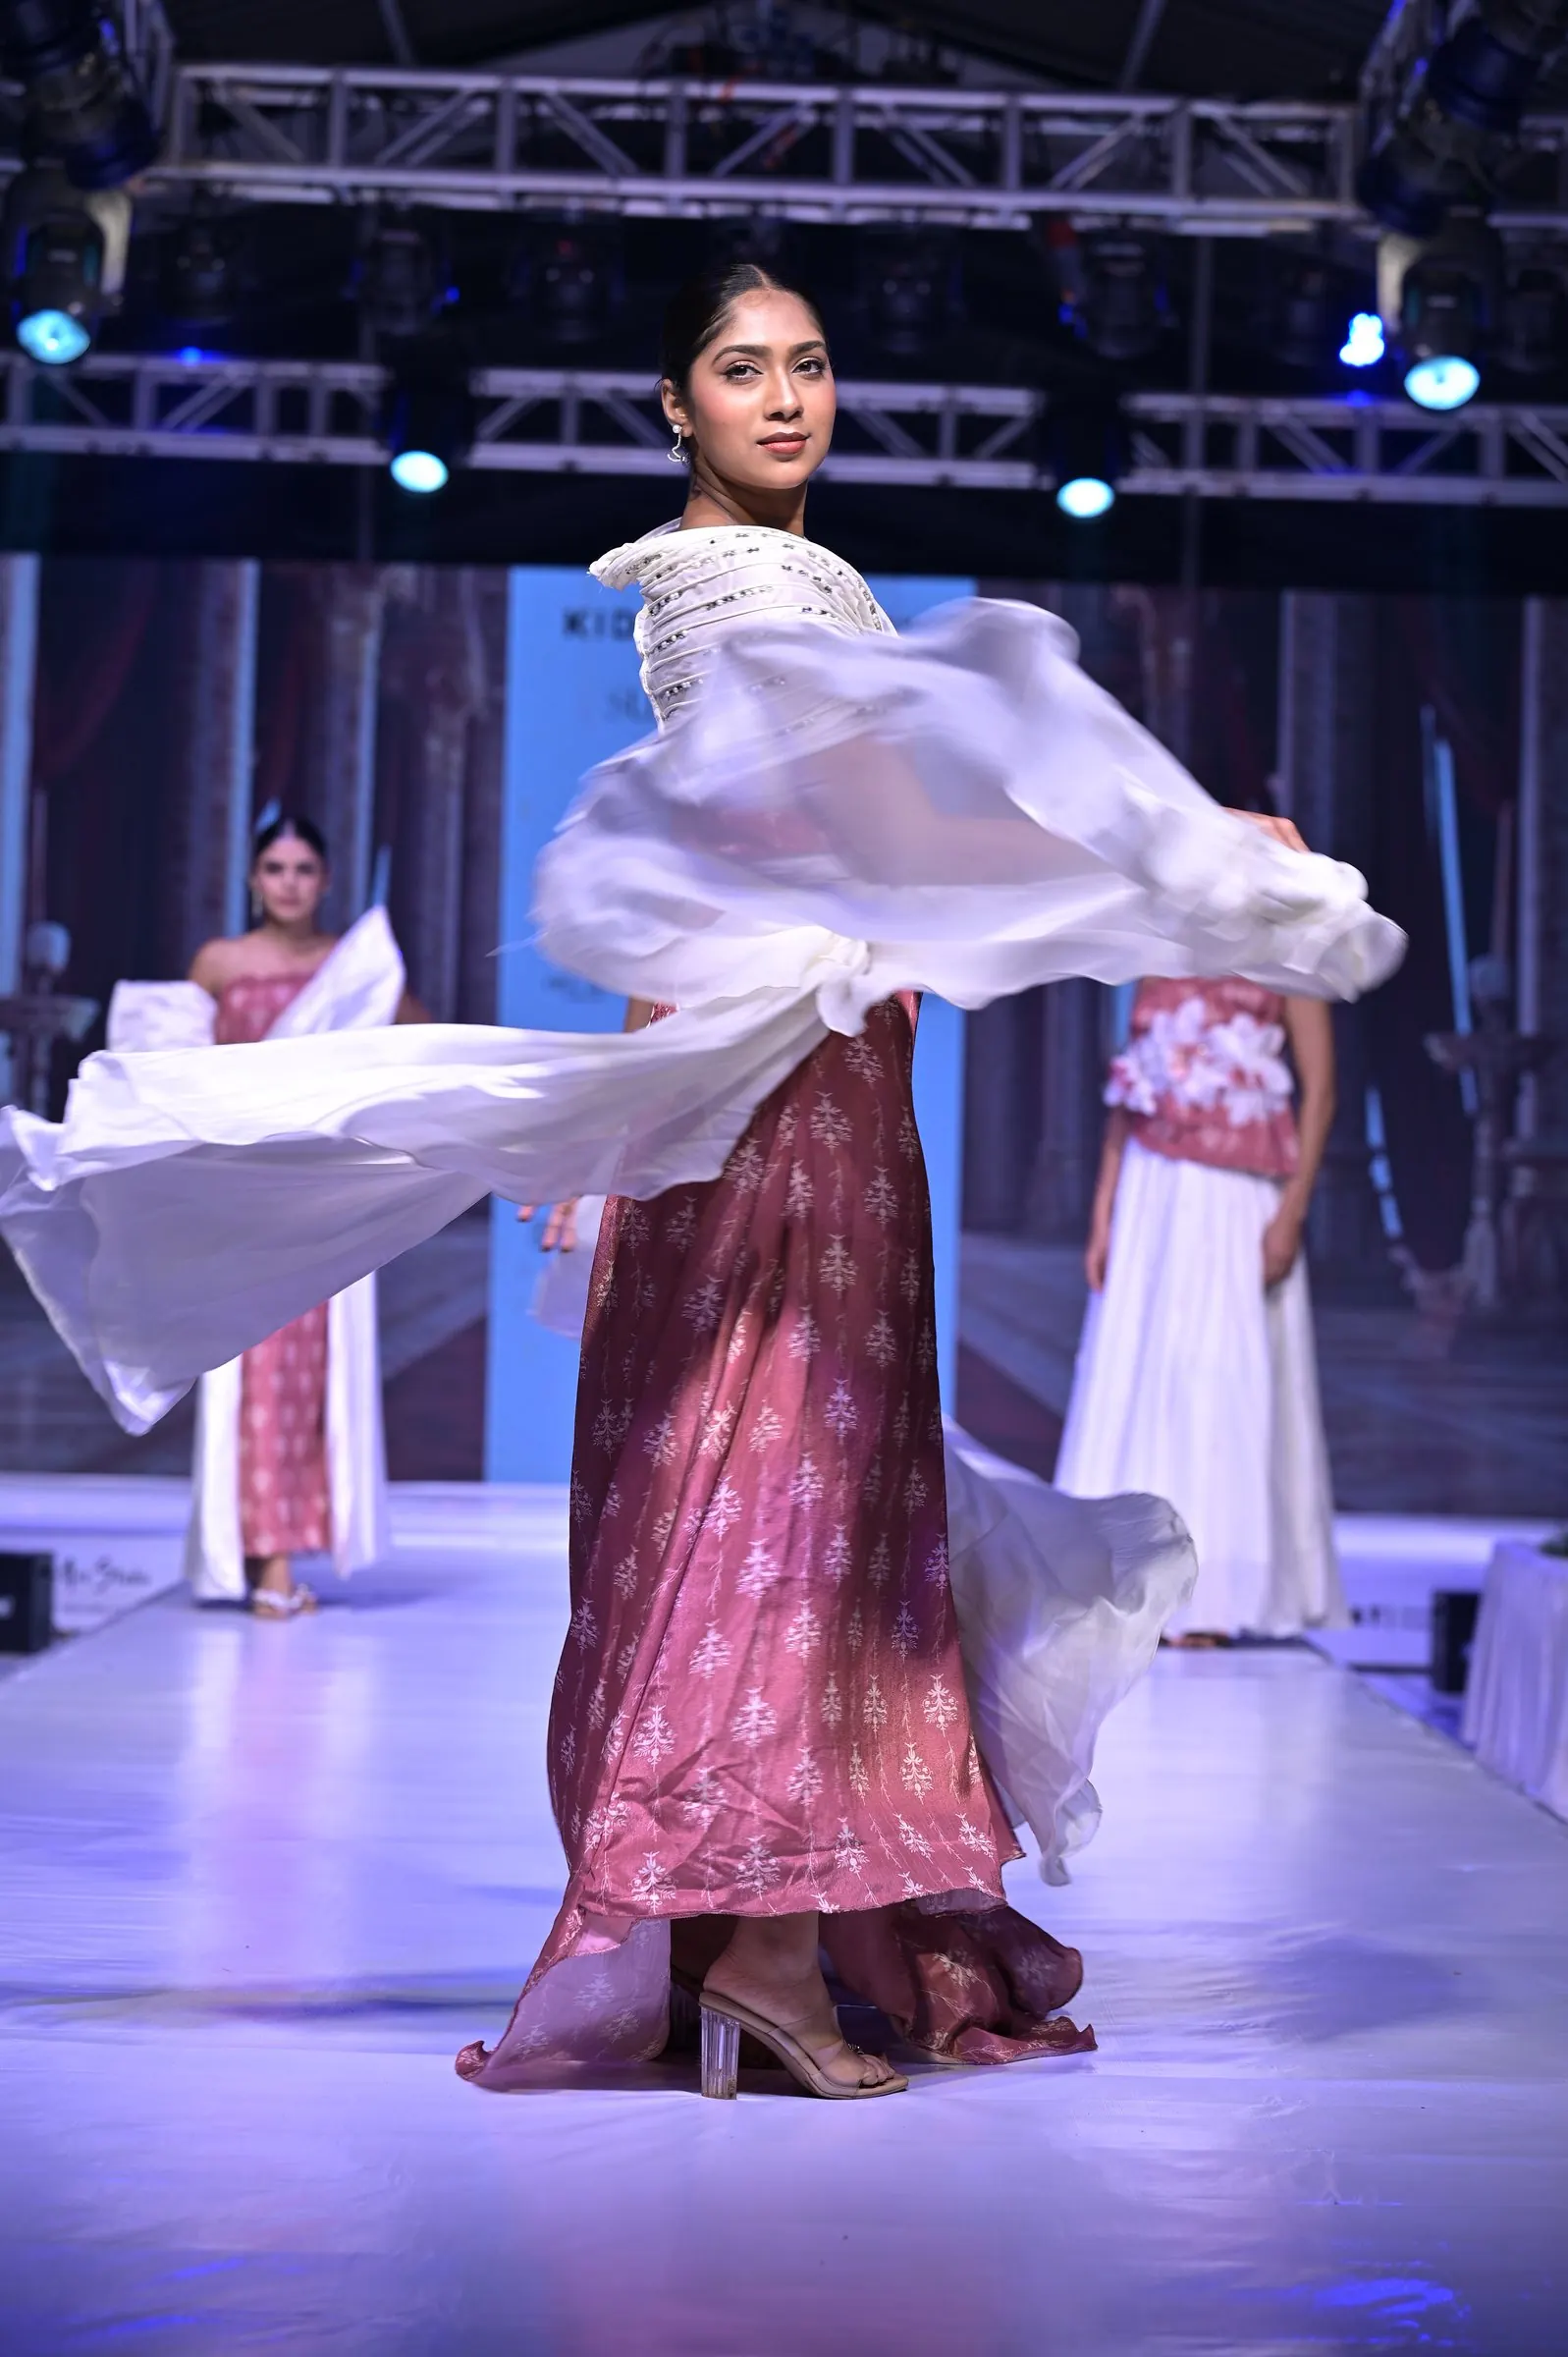
Draping in fashion design is the process of pinning and shaping fabric directly on a dress form (or a live body) to build a garment in three dimensions, then removing that fabric and turning it into a paper pattern. Instead of drafting lines on paper first, you let the cloth show you where the seams, darts and folds belong.
That’s the textbook answer. The more useful one: draping is the part of fashion designing where you find out whether a design actually works on a body before you’ve cut into the expensive fabric.
If you grew up watching someone pleat and tuck a six-yard sari in under two minutes, you already understand draping better than you think. The fashion version just adds pins, a dress form and a pattern at the end.
- Draping means shaping fabric on a dress form in 3D, then turning it into a paper pattern.
- Muslin, an inexpensive cotton, is the standard fabric for practice drapes and test garments.
- Draping suits cowls, bias cuts and asymmetric designs; flat pattern making suits sized production.
- Madeleine Vionnet and Madame Grès are the two designers most associated with the technique.
- Most designers use draping and flat pattern making together rather than choosing one.
What does draping mean?
The word comes from the Old French draper, built on drap, meaning cloth. In a design studio it gets used in two ways, and beginners mix them up constantly:
- Draping (the technique): shaping fabric on a form to create a pattern.
- Drape (the fabric property): how a fabric hangs. When your tutor says “this georgette has beautiful drape,” she’s describing the cloth, not your work.
You’ll also see it spelled “drapping” in searches. Same thing, one extra p.
How draping works, step by step
Here’s the process for a basic bodice, which is where almost every student starts. Each step comes with the thing that usually goes wrong, because that’s where the learning actually happens.
1. Prepare the dress form
Mark your reference lines with narrow style tape: centre front, centre back, bust line, waist, hip and the princess lines. These are your grid. Everything you pin later gets measured against them.
What goes wrong: tape that’s even slightly crooked. A centre-front line that leans 3 mm becomes a bodice that twists on the body.
2. Prepare the muslin
Tear your muslin fabric rather than cutting it, so the edge follows a single thread and shows you the true grain. Press it, pull it square if it’s skewed, and pencil in the straight grain and cross grain.
What goes wrong: skipping this. Off-grain muslin is the single most common reason a first drape looks “off” and nobody can say why.
3. Pin from the centre outward
Match the muslin’s straight-grain line to the centre-front tape. Pin at the neck and waist first, then smooth the fabric across the bust toward the side seam, pinning as you go.
4. Shape the excess
This is where the design lives. The extra fabric at the waist or shoulder has to go somewhere, and you decide where: a dart, a tuck, a gather, a pleat, a seam. Move it around. Unpin and try again. It’s the part of draping you can’t get from a pattern book.
5. Mark everything before you unpin
Mark seam lines, dart points, notches and match points with pencil or chalk while the fabric is still on the form. Once it comes off, the pieces can look nothing like what you expect, especially on bias-cut work.
What goes wrong: “I’ll remember where that went.” You won’t.
6. True the pattern
Lay the muslin flat. Connect your marks with a ruler and French curve so every line is smooth, check that seams which join each other are the same length, add seam allowance, and trace it all onto pattern paper.
7. Sew a test garment and fit it
The paper pattern is a hypothesis. A sewn toile on a real person is the test. Expect to go back to step 4 at least once.
Draping vs flat pattern making
Flat pattern making works the other way round. You start with body measurements and a basic block (sloper) on paper, then manipulate it with rulers and calculations. Most garments in production today are made this way, often in CAD software, because flat patterns are easier to grade into sizes and reproduce exactly.
| Draping | Flat pattern making | |
|---|---|---|
| Works in | 3D, on a form | 2D, on paper or screen |
| Best for | Cowls, bias cuts, asymmetry, soft volume, one-off couture | Structured basics, production, size grading |
| You see the result | Immediately | After a toile is sewn |
| Main skill | Reading fabric by eye and hand | Measurement and drafting accuracy |
Which one gives a better fit? There’s some evidence for draping. A 2012 study from Rajamangala University of Technology Thanyaburi in Thailand had three patternmakers make the same dress both ways. The draped pattern took 3.15 hours in the first session against 7.08 hours for the flat pattern, and the six models who wore the samples rated the draped version far higher (90% satisfaction vs about 47%). A Korean study comparing bodice patterns found draping fitted better around the neck, armhole and waist dart, with the gap widening on larger bust sizes.
Two caveats. Both studies are small (one dress, six wearers), and “faster” depends heavily on who’s doing it. A seasoned flat patternmaker will beat a nervous first-year draper every time.
Our take: you need both. Flat pattern making for anything you’ll produce in sizes. Draping for anything where the fabric’s behaviour is the design. Most working designers move between the two without thinking about it. (If you’re weighing which side of the industry suits you, our guide on fashion design vs fashion technology breaks it down.)
Draping tools you actually need
You don’t need everything on the long lists you’ll find online. Start with these:
- Dress form in your sample size. The form is your client, so its accuracy matters more than anything else on this list.
- Muslin, in a couple of weights (more on this below)
- Dressmaker pins, fine and sharp, plus a pin cushion you can wear on your wrist
- Style tape for marking lines on the form
- Tailor’s chalk or a sharp pencil
- Shears, ideally bent-handled so the blade stays flat on the table
- Clear gridded ruler, L-square and French curve for truing
- Tracing wheel and pattern paper for transferring the drape
- Iron, for pressing muslin on grain
Nice to have later: a notcher, a hip curve, a half-scale dress form for practising ideas quickly.
Choosing fabric: understanding drape quality
A fabric with high drape falls softly and follows the body: chiffon, georgette, crepe de chine, satin, silk jersey, viscose. A fabric with low drape holds its own shape and stands away from the body: cotton poplin, linen, denim, taffeta, organza, stiff tulle.
Neither is better. A structured A-line skirt wants low drape. A cowl neck in poplin will look like a paper bag.
Here’s the part beginners miss. Your muslin should behave roughly like your final fabric. If you drape a chiffon dress in stiff, heavy muslin, the drape will look wonderful on the form and collapse the moment you cut it in chiffon. Use a lightweight muslin or a cheap fabric with similar weight when working out soft designs, and heavier muslin for tailored ones.
Basic and advanced draping techniques
Basic draping covers the foundation blocks: the fitted bodice, straight and A-line skirts, sleeves and simple collars. These teach you grain, ease and how darts create shape.
Advanced draping is where it gets interesting:
- Cowl necklines: fabric cut on the bias and allowed to fall in soft folds at the neck or back
- Bias draping: working the fabric at 45° to the grain so it stretches and clings without any stretch fibre
- Pleats, tucks and gathers: controlling volume by folding it rather than cutting it away (our guide to types of pleats covers knife, box, accordion and more)
- Twists and knots: fabric that wraps through itself, common in evening wear
- Free or “Grecian” draping: long uncut lengths pleated and pinned directly into a silhouette
A short history of draping
The oldest clothes in the world were draped, not tailored. Ancient Greek garments like the chiton, peplos and himation were rectangles of cloth pinned and belted on the body, with almost no cutting at all. The sari works on the same principle: one unstitched length, shaped entirely by how it’s pleated and wrapped. Regional drapes like the Nivi and the Bengali style use the same cloth to make very different silhouettes, which is basically a draping lesson you can watch at any Indian wedding.
The technique moved from wrapping to pattern making in 20th-century Paris, and two designers did more than anyone to shape it.
Madeleine Vionnet opened her couture house in 1912 and became famous for the bias cut. She didn’t invent cutting on the bias, but she was the first to use it for whole garments rather than trims. She also skipped sketching: she draped her designs on small wooden mannequins, then made the full-size versions. Her dresses look simple. They aren’t. Lay a Vionnet pattern flat and the pieces are strange, almost abstract shapes.
Madame Grès (Alix Grès) is remembered for finely pleated silk jersey gowns that look carved more than sewn. According to The Met’s Costume Institute, she built many of them on a boned underbodice, then arranged and hand-tacked the pleats onto it. A wide length of jersey could end up pleated down to a few centimetres.
For more on how techniques like these evolved, see our piece on fashion history for student designers.
Why draping is important in fashion design
You see the garment before you commit
A sketch can hide problems. Fabric on a form can’t. You’ll know within minutes whether that wrap neckline gapes or that sleeve head sits right.
It makes you better at diagnosing fit
This is the reason draping still sits on every list of skills fashion design students need, even though most factories never use it. Once you’ve moved darts around by hand, you can look at a badly fitting sample and see where the problem is. Then you can tell the factory exactly what to change instead of guessing.
The fabric suggests designs you wouldn’t have drawn
Pin a length of crepe at one shoulder and let it fall. Something will happen that you didn’t plan. A lot of good design starts this way, and it’s hard to get the same accident on paper. (If you’re stuck creatively, this is one of the approaches in our guide to staying inspired as a fashion designer.)
Some garments are close to impossible to draft flat
Cowls, deep asymmetric wraps, sculptural pleating. You can draft them, eventually, but draping gets you there faster and closer to what you imagined.
It can cut down on waste
Testing in muslin before cutting final fabric already saves expensive mistakes. 3D virtual draping software like CLO 3D takes this further by letting designers check fit and fabric flow on screen before anything is cut, which is one reason it shows up in conversations about sustainable fashion. (Our roundup of design software for fashion students covers CLO 3D and the alternatives.)
The limitations of draping
Draping isn’t the answer to everything, and pretending otherwise doesn’t help students.
- It’s slow to scale. A draped pattern is one size. Grading it to a full size range is flat-pattern work.
- Your dress form isn’t a person. Research comparing dress forms with fitting models has found real differences in shoulder angle, armhole and bust-to-waist shaping. A perfect drape on the form still needs a live fitting.
- Muslin lies a little. Even a well-chosen muslin won’t behave exactly like silk jersey.
- It takes practice. Your first cowl will probably look like a towel. That’s normal.
Draping outside the fashion studio
The word gets used well beyond garments. Interior designers talk about drapery for curtains and window treatments. Event decorators drape fabric over mandaps, ceilings and stage backdrops. Theatre costume departments drape constantly, and painters and sculptors have studied how cloth folds for centuries. The core skill is the same everywhere: understanding how a fabric’s weight and weave make it hang.
Frequently asked questions
What is the difference between draping and pattern making?
Draping is one way of making a pattern. You shape fabric on a dress form in 3D and turn it into a paper pattern afterwards. Flat pattern making does the job in 2D, starting from measurements and a basic block. Most designers use both.
What fabric is used for draping?
Muslin, an inexpensive unbleached cotton, is the standard for practice and toiles. Choose a lighter muslin for soft designs and a heavier one for structured pieces, so it behaves roughly like your final fabric.
Is draping difficult to learn?
The basics (a bodice and a skirt) take a few weeks of regular practice. Cowls, bias work and sculptural pleating take much longer. Patience matters more than talent, and a tutor checking your grain lines in person speeds things up a lot, which is why draping is taught hands-on in a fashion design diploma rather than learned from videos alone.
Can you drape without a dress form?
Yes. You can drape directly on a person, which is how many traditional garments are fitted, or on a half-scale form. Vionnet herself worked out her designs on small mannequins first.
Which designers are famous for draping?
Madeleine Vionnet, for her bias-cut dresses, and Madame Grès, for her pleated silk jersey gowns, are the two names every draping student meets first. For Indian designers working with drape and structure, see our list of the top fashion designers in India.
Learn draping at KIDAT
At KIDAT, our fashion design institute in Shivamogga, draping is a core part of the Graduate Diploma in Fashion Designing & Management (GDFDM), where students work from basic blocks to advanced cowls and bias drapes on the dress form. Visiting professionals add to it: in a draping masterclass, draping artist Harshavardhan Rai had the class draping saris on each other, fold by fold. The year ends with every student’s collection on the Sutradhar runway. Still choosing a path after school? Our guide to fashion designing courses after 12th compares the options.

As founder of KIDAT, Dhanya has been instrumental in nurturing the creative potential of aspiring designers in Shivamogga.
Reading about fashion is the first step. Making it is the rest.
One year, full-time, in Shivamogga.